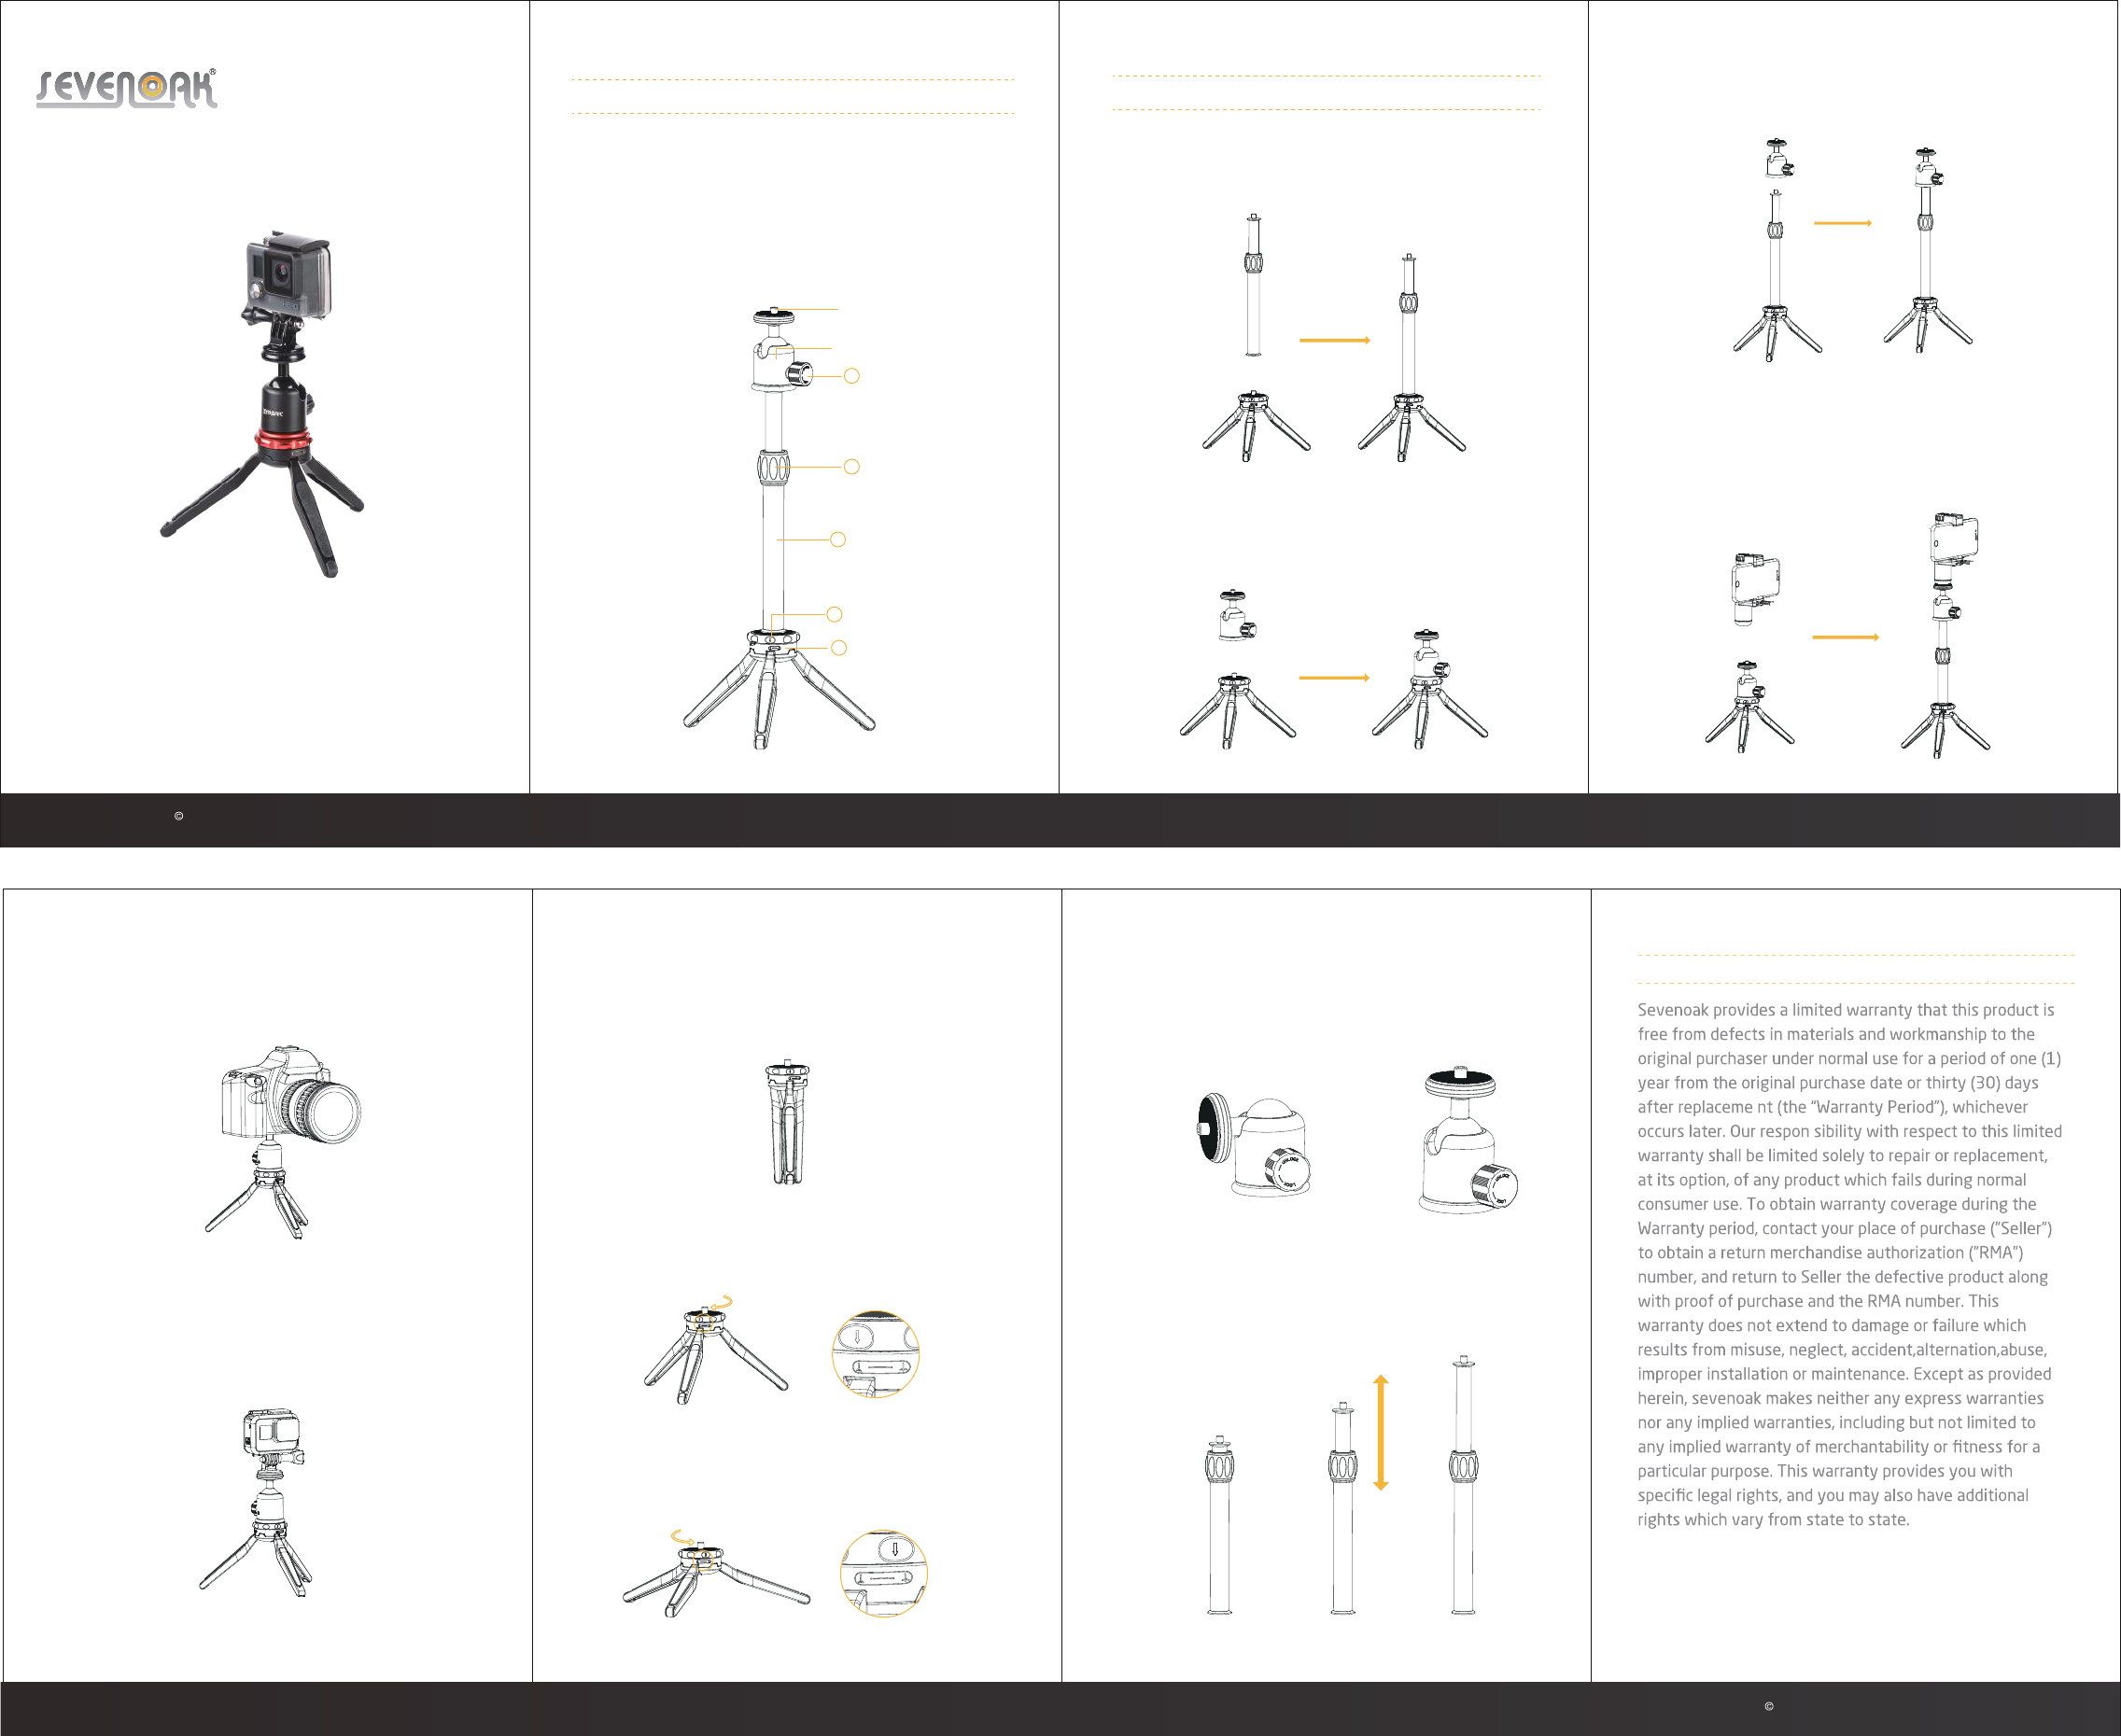
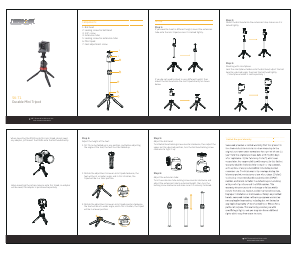
Bruksanvisning Sevenoak SK-T1 Stativ
Behöver du en bruksanvisning för din Sevenoak SK-T1 Stativ? Nedan kan du se och ladda ner PDF-bruksanvisningen gratis på svenska. Den här produkten har för närvarande 0 vanliga frågor, 0 kommentarer och har 0 röster. Om det här inte är bruksanvisningen du vill ha, vänligen kontakta oss.
Är produkten defekt och erbjuder bruksanvisningen ingen lösning? Gå till ett Repair Café för gratis reparationstjänster.
Bruksanvisning
Loading…

Loading…
Betyg
Berätta vad du tycker om Sevenoak SK-T1 Stativ genom att betygsätta den. Vill du dela med dig av dina åsikter om denna produkt eller ställa en fråga? Lämna en kommentar nederst på sidan.Mer om denna bruksanvisning
Vi förstår att det är trevligt att ha en pappersbruksanvisning för din Sevenoak SK-T1 Stativ. Du kan alltid ladda ner bruksanvisningen från vår hemsida och skriva ut den själv. Om du vill ha en originalbruksanvisning rekommenderar vi att du kontaktar Sevenoak. De kanske kan tillhandahålla en originalbruksanvisning. Letar du efter bruksanvisningen för din Sevenoak SK-T1 Stativ på ett annat språk? Välj ditt föredragna språk på vår hemsida och sök efter modellnumret för att se om vi har det tillgängligt.
Specifikationer
| Märke | Sevenoak |
| Modell | SK-T1 |
| Kategori | Stativ |
| Filtyp | |
| Filstorlek | 2.42 MB |
Alla bruksanvisningar för Sevenoak Stativ
Fler bruksanvisningar för Stativ


Delta i konversationen om denna produkt
Här kan du dela vad du tycker om Sevenoak SK-T1 Stativ. Om du har en fråga, läs först noggrant igenom manualen. Att begära en manual kan göras genom att använda vårt kontaktformulär.