E-15
• Leaving the watch exposed to direct sunlight or some other very strong light source can cause the
battery power indicator to show a reading temporarily that is higher than the actual battery level. The
correct battery level should be indicated after a few minutes.
• All data stored in memory is deleted, and the current time and all other settings return to their initial
factory defaults whenever battery power drops to Level 5 and when you have the battery replaced.
A dark environment while battery power is at Level 4 will cause the level to drop to Level 5. Expose the
watch to bright light whenever possible.
• The Home City setting reverts to the initial default of
TYO
(Tokyo) whenever the battery power level
drops to Level 5 or when you have the rechargeable battery replaced. If this happens, change the
Home City to the setting you want (page E-24).
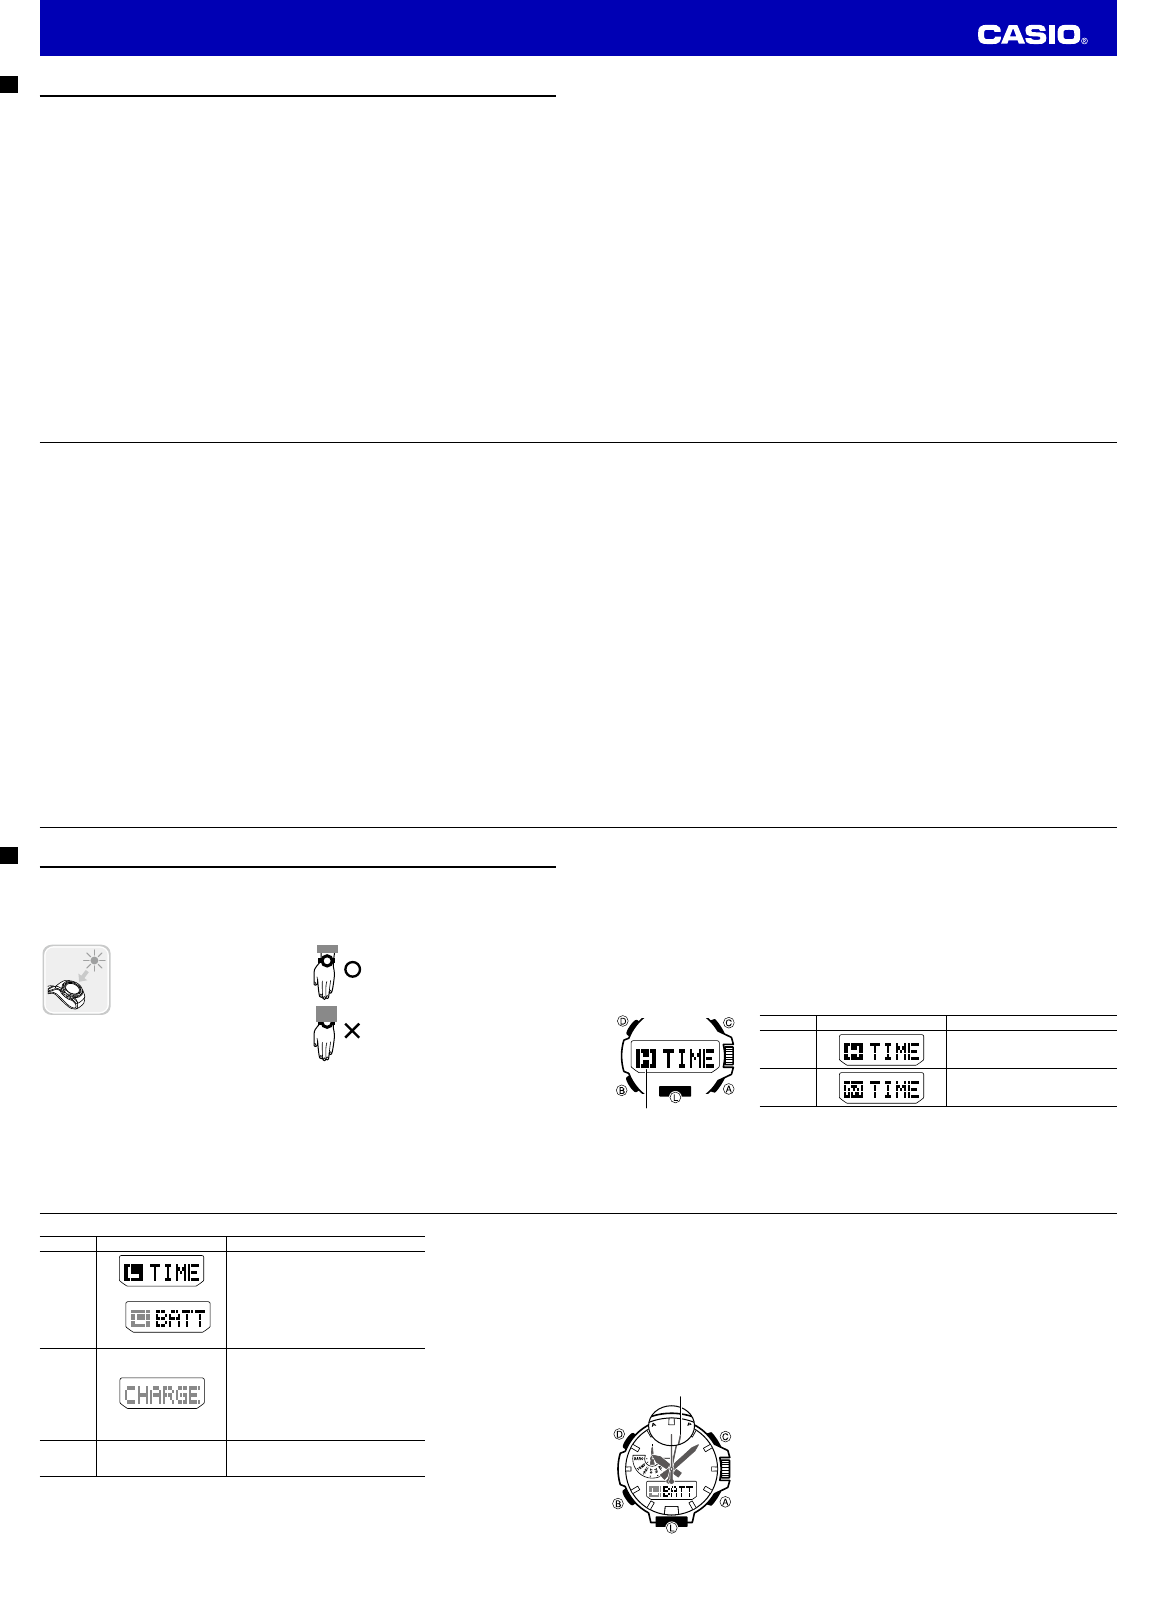
Low battery alert
When battery power reaches Level 3, the second hand of the watch will
jump at 2-second intervals in the Timekeeping Mode to let you know that
charging is required.
Jumps at two-second
intervals
E-14
Level Battery Power Indicator Function Status
3
(L)
Illumination, beeper, and sensor operation
disabled.
Second hand jumps every two seconds.
4
(CHARGE)
All hands stopped at 12 o’clock.
All functions disabled.
5 – – –
All hands stopped at 12 o’clock.
All functions disabled and settings return
to their initial factory defaults.
• The fl ashing
L
indicator at Level 3 (
L
) tells you that battery power is very low, and that exposure to
bright light for charging is required as soon as possible.
• Once the battery reaches Level 2 (
M
) after falling to Level 5, reconfi
gure the current time, date, and
other settings.
• Display indicators reappear as soon as the battery is charged from Level 5 to Level 2 (
M
).
E-13
Important!
• Allowing the watch to become very hot can cause its liquid crystal display to go blank (totally black or
totally white, depending on the watch model). The appearance of the LCD should become normal
again when the watch returns to a lower temperature.
• Turn on the watch’s Power Saving function (page E-18) and keep it in an area normally exposed to bright
light when storing it for long periods. This helps to ensure that power does not run down.
• Storing the watch for long periods in an area where there is no light or wearing it in such a way that it is
blocked from exposure to light can cause power to run down. Expose the watch to bright light
whenever possible.
Power Levels
Hold down
B
for at least two seconds to enter the Timekeeping Mode.
You can get an idea of the watch’s power level by observing the battery power indicator on the display.
Level Battery Power Indicator Function Status
1
(H)
All functions enabled.
2
(M)
All functions enabled.
Battery power
indicator
E-12
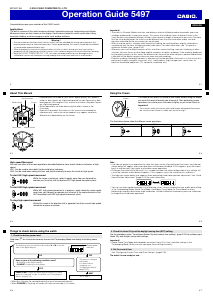
Charging the Watch
The face of the watch is a solar panel that generates power from light. The generated power charges a
built-in rechargeable battery, which powers watch operations. The watch charges whenever it is exposed
to light.
Charging Guide
Whenever you are not wearing the
watch, leave it in a location where it
is exposed to light.
• Best charging performance is
achieved by exposing the watch to
the strongest light available.
When wearing the watch, make sure
that its face is not blocked from light
by the sleeve of your clothing.
• The watch may enter a sleep state
(page E-18) if its face is blocked by
your sleeve even only partially.
Warning!
Leaving the watch in bright light for charging can cause it to become quite hot.
Take care when handling the watch to avoid burn injury. The watch can become particularly hot
when exposed to the following conditions for long periods.
• On the dashboard of a car parked in direct sunlight
• Too close to an incandescent lamp
• Under direct sunlight
E-11
Checking the Current Time in a Different Time Zone ………………………………………………… E-81
To enter the World Time Mode …………………………………………………………………… E-81
To confi gure World Time City and summer time settings ……………………………………… E-82
To swap your Home City and World Time City …………………………………………………… E-84
To access the UTC (Universal Time Coordinated) time zone ………………………………… E-84
Illumination ………………………………………………………………………………………………… E-85
To turn on illumination manually …………………………………………………………………… E-85
To change the illumination duration ……………………………………………………………… E-85
To enable or disable the auto light switch ………………………………………………………… E-87
Other Settings ……………………………………………………………………………………………… E-89
To turn the button operation tone on or off ……………………………………………………… E-89
To turn Power Saving on or off …………………………………………………………………… E-89
Troubleshooting …………………………………………………………………………………………… E-90
Specifi cations ……………………………………………………………………………………………… E-95
E-10
Viewing Altitude Records ………………………………………………………………………………… E-70
To view altitude records …………………………………………………………………………… E-70
To delete all recorded data ………………………………………………………………………… E-73
To delete a specifi c record ………………………………………………………………………… E-73
Using the Stopwatch ……………………………………………………………………………………… E-74
To enter the Stopwatch Mode ……………………………………………………………………… E-74
To perform an elapsed time operation …………………………………………………………… E-74
To pause at a split time ……………………………………………………………………………… E-74
To measure two fi nishes …………………………………………………………………………… E-75
Using the Countdown Timer ……………………………………………………………………………… E-76
To enter the Countdown Timer Mode ……………………………………………………………… E-76
To specify the countdown start time ……………………………………………………………… E-76
To perform a countdown timer operation ………………………………………………………… E-77
To stop the alarm …………………………………………………………………………………… E-77
Using the Alarm …………………………………………………………………………………………… E-78
To enter the Alarm Mode …………………………………………………………………………… E-78
To set an alarm time ………………………………………………………………………………… E-79
To turn an alarm and the Hourly Time Signal on and off………………………………………… E-80
To stop the alarm …………………………………………………………………………………… E-80
To test the alarm …………………………………………………………………………………… E-80
E-9
Taking Direction Readings ……………………………………………………………………………… E-32
To take a direction reading ………………………………………………………………………… E-33
To perform bidirectional calibration ………………………………………………………………… E-37
To perform magnetic declination correction ……………………………………………………… E-38
Specifying Altitude, Barometric Pressure, and Temperature Units ……………………………… E-41
To specify altitude, barometric pressure, and temperature units ……………………………… E-41
Using the Altimeter Mode ………………………………………………………………………………… E-42
To specify the altitude auto reading interval ……………………………………………………… E-43
To take altitude readings …………………………………………………………………………… E-44
To specify a reference altitude value ……………………………………………………………… E-46
To specify the altitude differential measurement range ………………………………………… E-48
To use the altitude differential value ……………………………………………………………… E-49
To save a reading manually ………………………………………………………………………… E-51
Precautions Concerning Simultaneous Altitude and Temperature Readings ………………… E-57
Taking Barometric Pressure Readings ………………………………………………………………… E-58
To take barometric pressure readings …………………………………………………………… E-58
To show and hide barometric pressure differential ……………………………………………… E-61
To enable or disable the barometric pressure change indicator ……………………………… E-64
To calibrate the pressure sensor …………………………………………………………………… E-66
Taking Temperature Readings …………………………………………………………………………… E-67
To take temperature readings ……………………………………………………………………… E-67
To calibrate the temperature sensor ……………………………………………………………… E-68
E-8
Contents
About This Manual …………………………………………………………………………………………… E-2
Using the Crown ……………………………………………………………………………………………… E-3
Things to check before using the watch ………………………………………………………………… E-6
Charging the Watch ………………………………………………………………………………………… E-12
To recover from the sleep state …………………………………………………………………… E-18
Mode Reference Guide …………………………………………………………………………………… E-19
Timekeeping ………………………………………………………………………………………………… E-23
Confi guring Home City Settings ………………………………………………………………………… E-24
To confi gure Home City and summer time settings ……………………………………………… E-24
Confi guring Current Time and Date Settings ………………………………………………………… E-26
To change the current time and date settings …………………………………………………… E-26
To switch between 12-hour and 24-hour timekeeping …………………………………………… E-28
Hand Home Position Adjustment ……………………………………………………………………… E-29
To adjust home positions …………………………………………………………………………… E-29
Moving the Hands for Easy Viewing of the Digital Dials …………………………………………… E-30
To shift the hands and view digital info …………………………………………………………… E-30
To return the hands to their normal positions …………………………………………………… E-31
Operation Guide 5497


Delta i konversationen om denna produkt
Här kan du dela vad du tycker om Casio Pro Trek PRG-600YB-2ER Armbandsur. Om du har en fråga, läs först noggrant igenom manualen. Att begära en manual kan göras genom att använda vårt kontaktformulär.